You can find dozens of examples of PVC mineral feeders for goats all over sites like Pinterest and certainly Google. I figured we would share how we made ours with you! These instructions will make 3 large capacity 4 inch PVC mineral feeders. I personally am a big fan of coming up with plans for my projects that have as little waste as possible. I want to use everything up! So, in this article I specifically am making 3 feeders because this allowed me to use up almost all of the supplies listed.
Supplies List:
1 piece of 10 foot PVC pipe, 4 inch diameter
3 count 4 inch PVC Wye “Y” Fittings
6 count 4 inch standard caps. Note: You can swap 3 of these for clean-out cap assemblies for the bottoms if you so choose.
A saw. Ya know.
Adhesive, or self drilling screws.
Mounting - a roll of galvanized pipe hanger strap “plumbers tape” OR 6 count 4 inch U shape pipe hanger brackets or (what we used) 6 count 14-gauge 5/8 inch wide 18 inch long pipe support hyco bars.
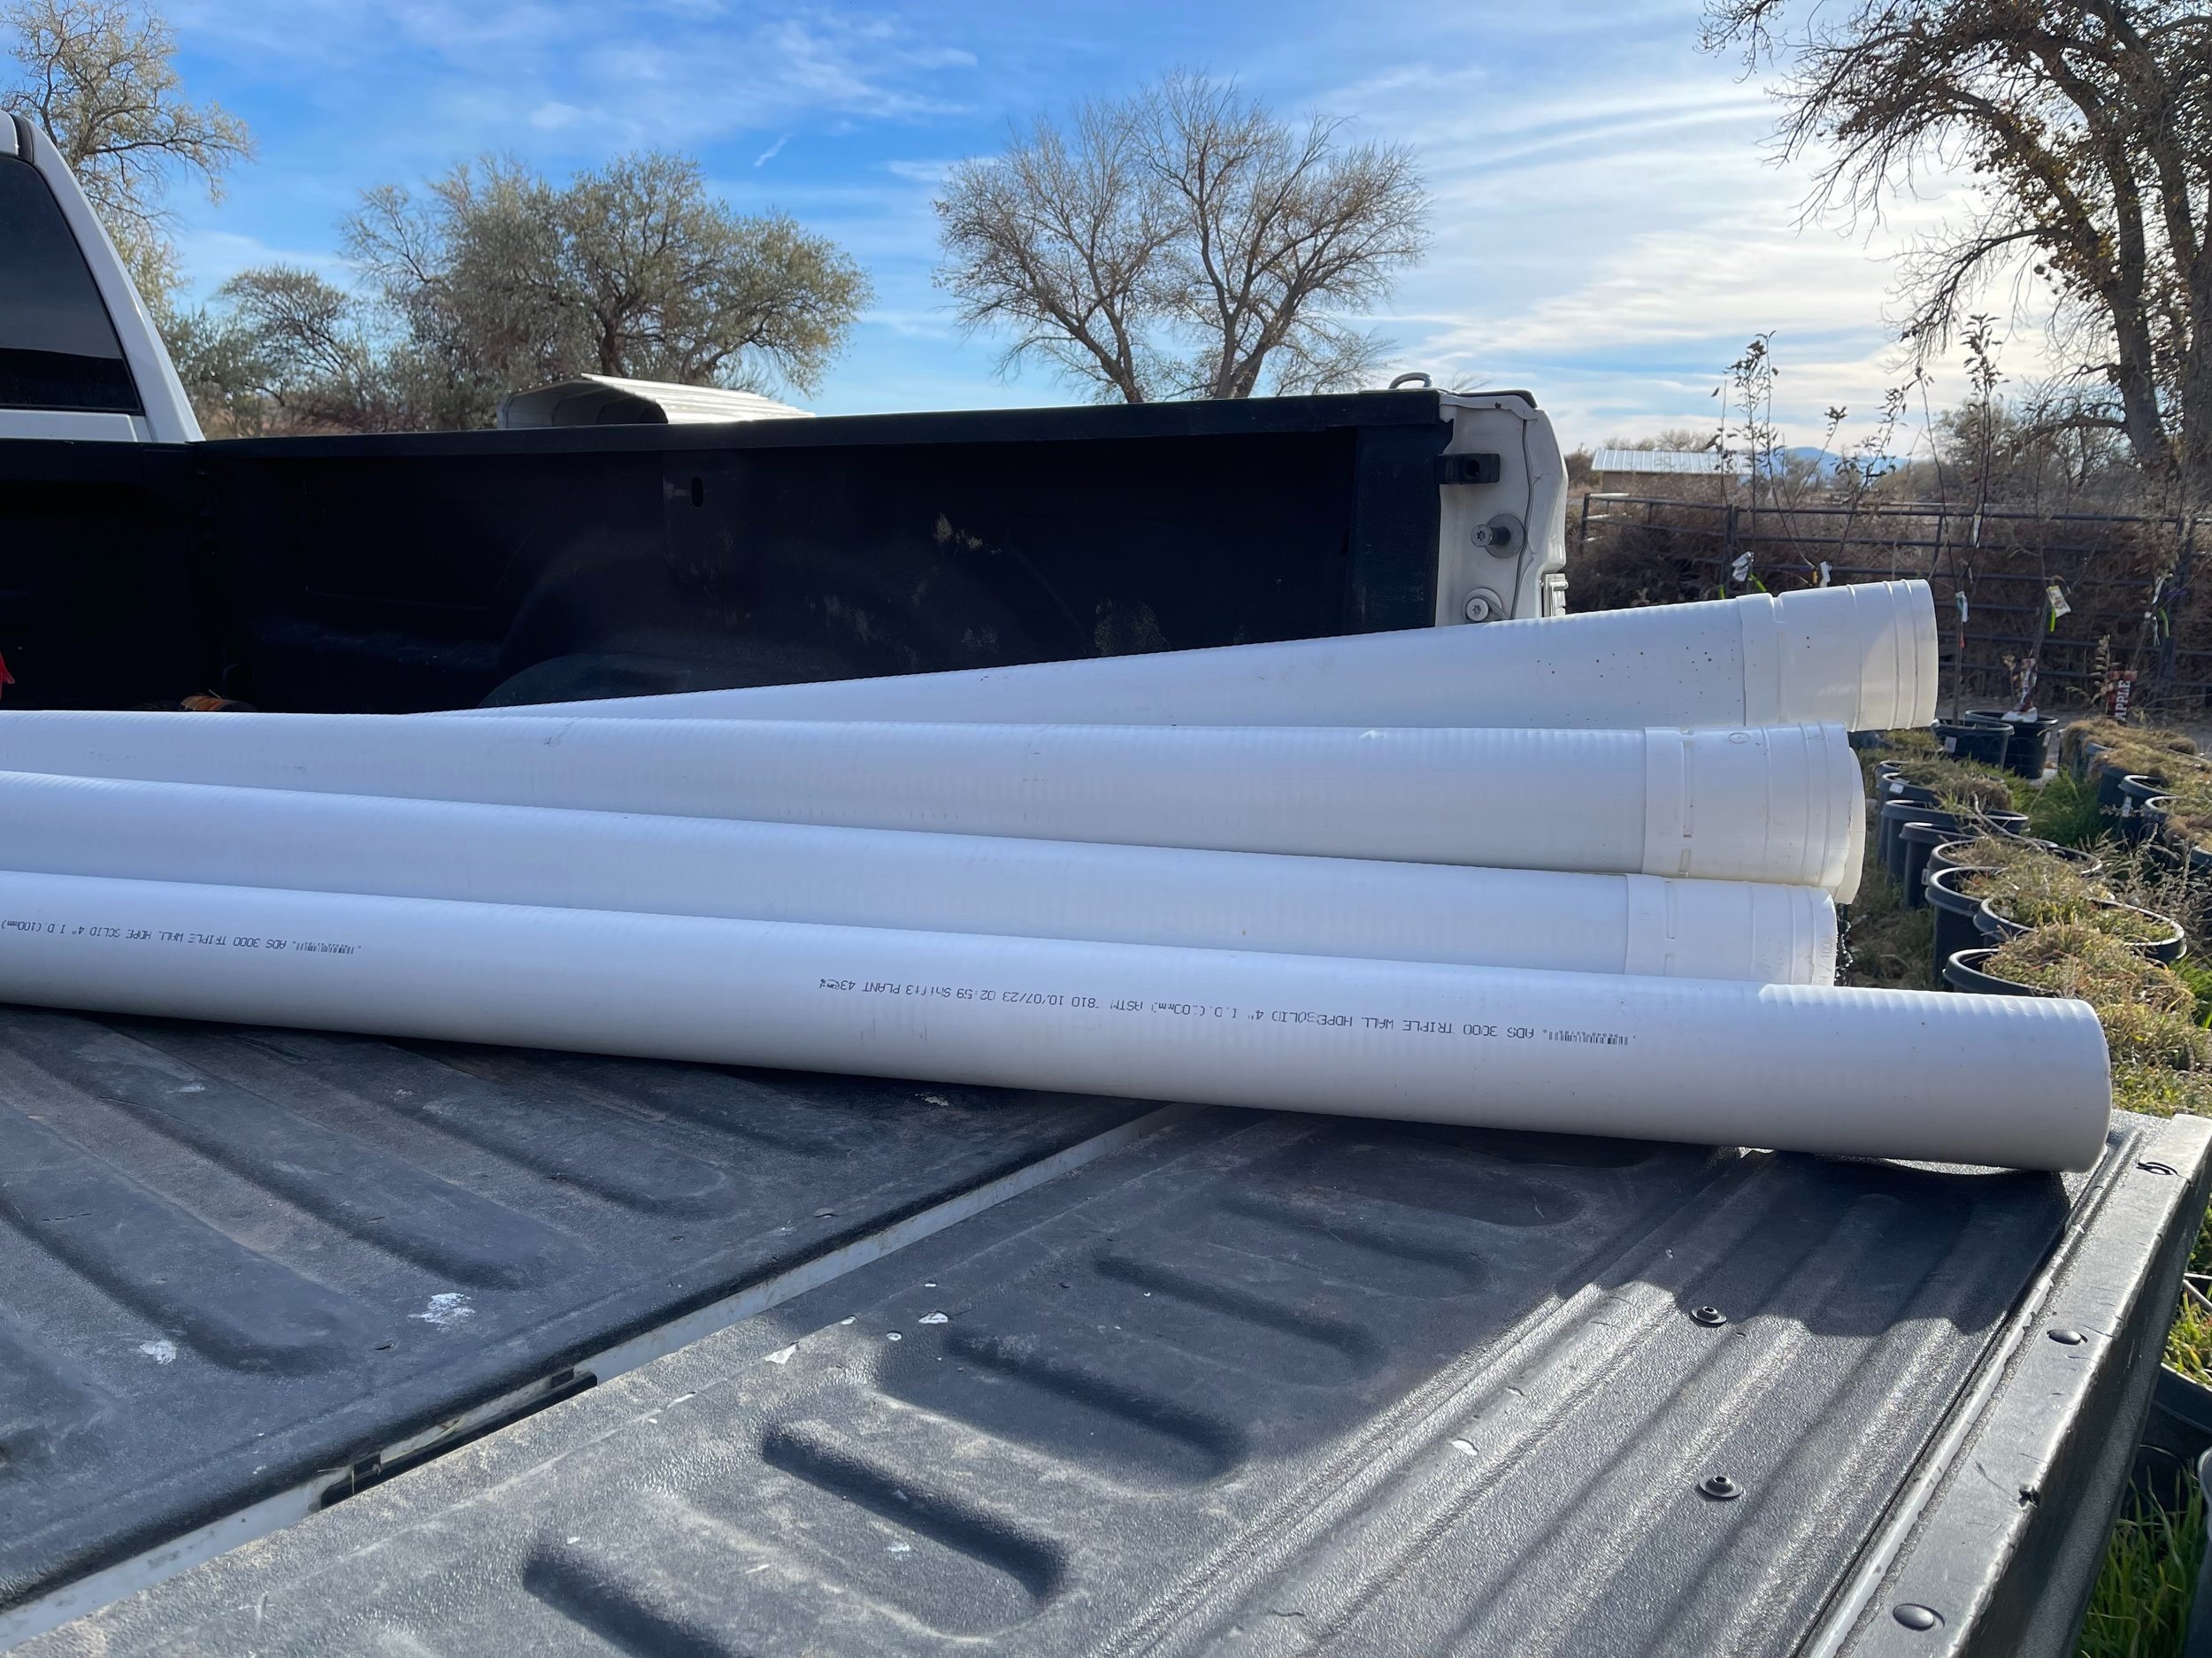
10 foot sections of 4 inch S&D Triple Wall pipe.
There are several types of PVC. Not all types fit together - this is important. You might think 4 inch pipe is 4 inch pipe is 4 inch pipe - nope. Always check your pieces at the store. Rather than explain the differences of the types of PVC, I’ll keep this short and just tell you what we used. We used what is called S&D PVC which means Septic and Drain PVC. It’s the least expensive and lightest weight. So while it may cost the least amount, it’s also the least heavy duty.

Step 1: The first cut is right along the seam of the flange at the end of the 10 foot pipe.
We used 4 inch pipe and fittings for our feeders. We started with standard 10 foot long Triple Wall Solid Drain Pipe. These sections come with a handy flange on one end for connecting one piece to another. Since we are not connecting them together we cut the flange off the end of the pipe.
Next, we cut 3 sections of 36 inches of length from the 10 foot pipe. What is leftover is a section of pipe that is about 10 inches plus roughly 1/4 inch, give or take. The goal now is to cut this 10 inch (and change) scrap of pipe into 3 sections of about 3.3 inches. These pieces do not need to be exact, just measure and cut them to as close to even lengths as you’re able to.

Step 2: Mark and cut 3 sections of 36 inches of pipe from the 10 foot pipe.
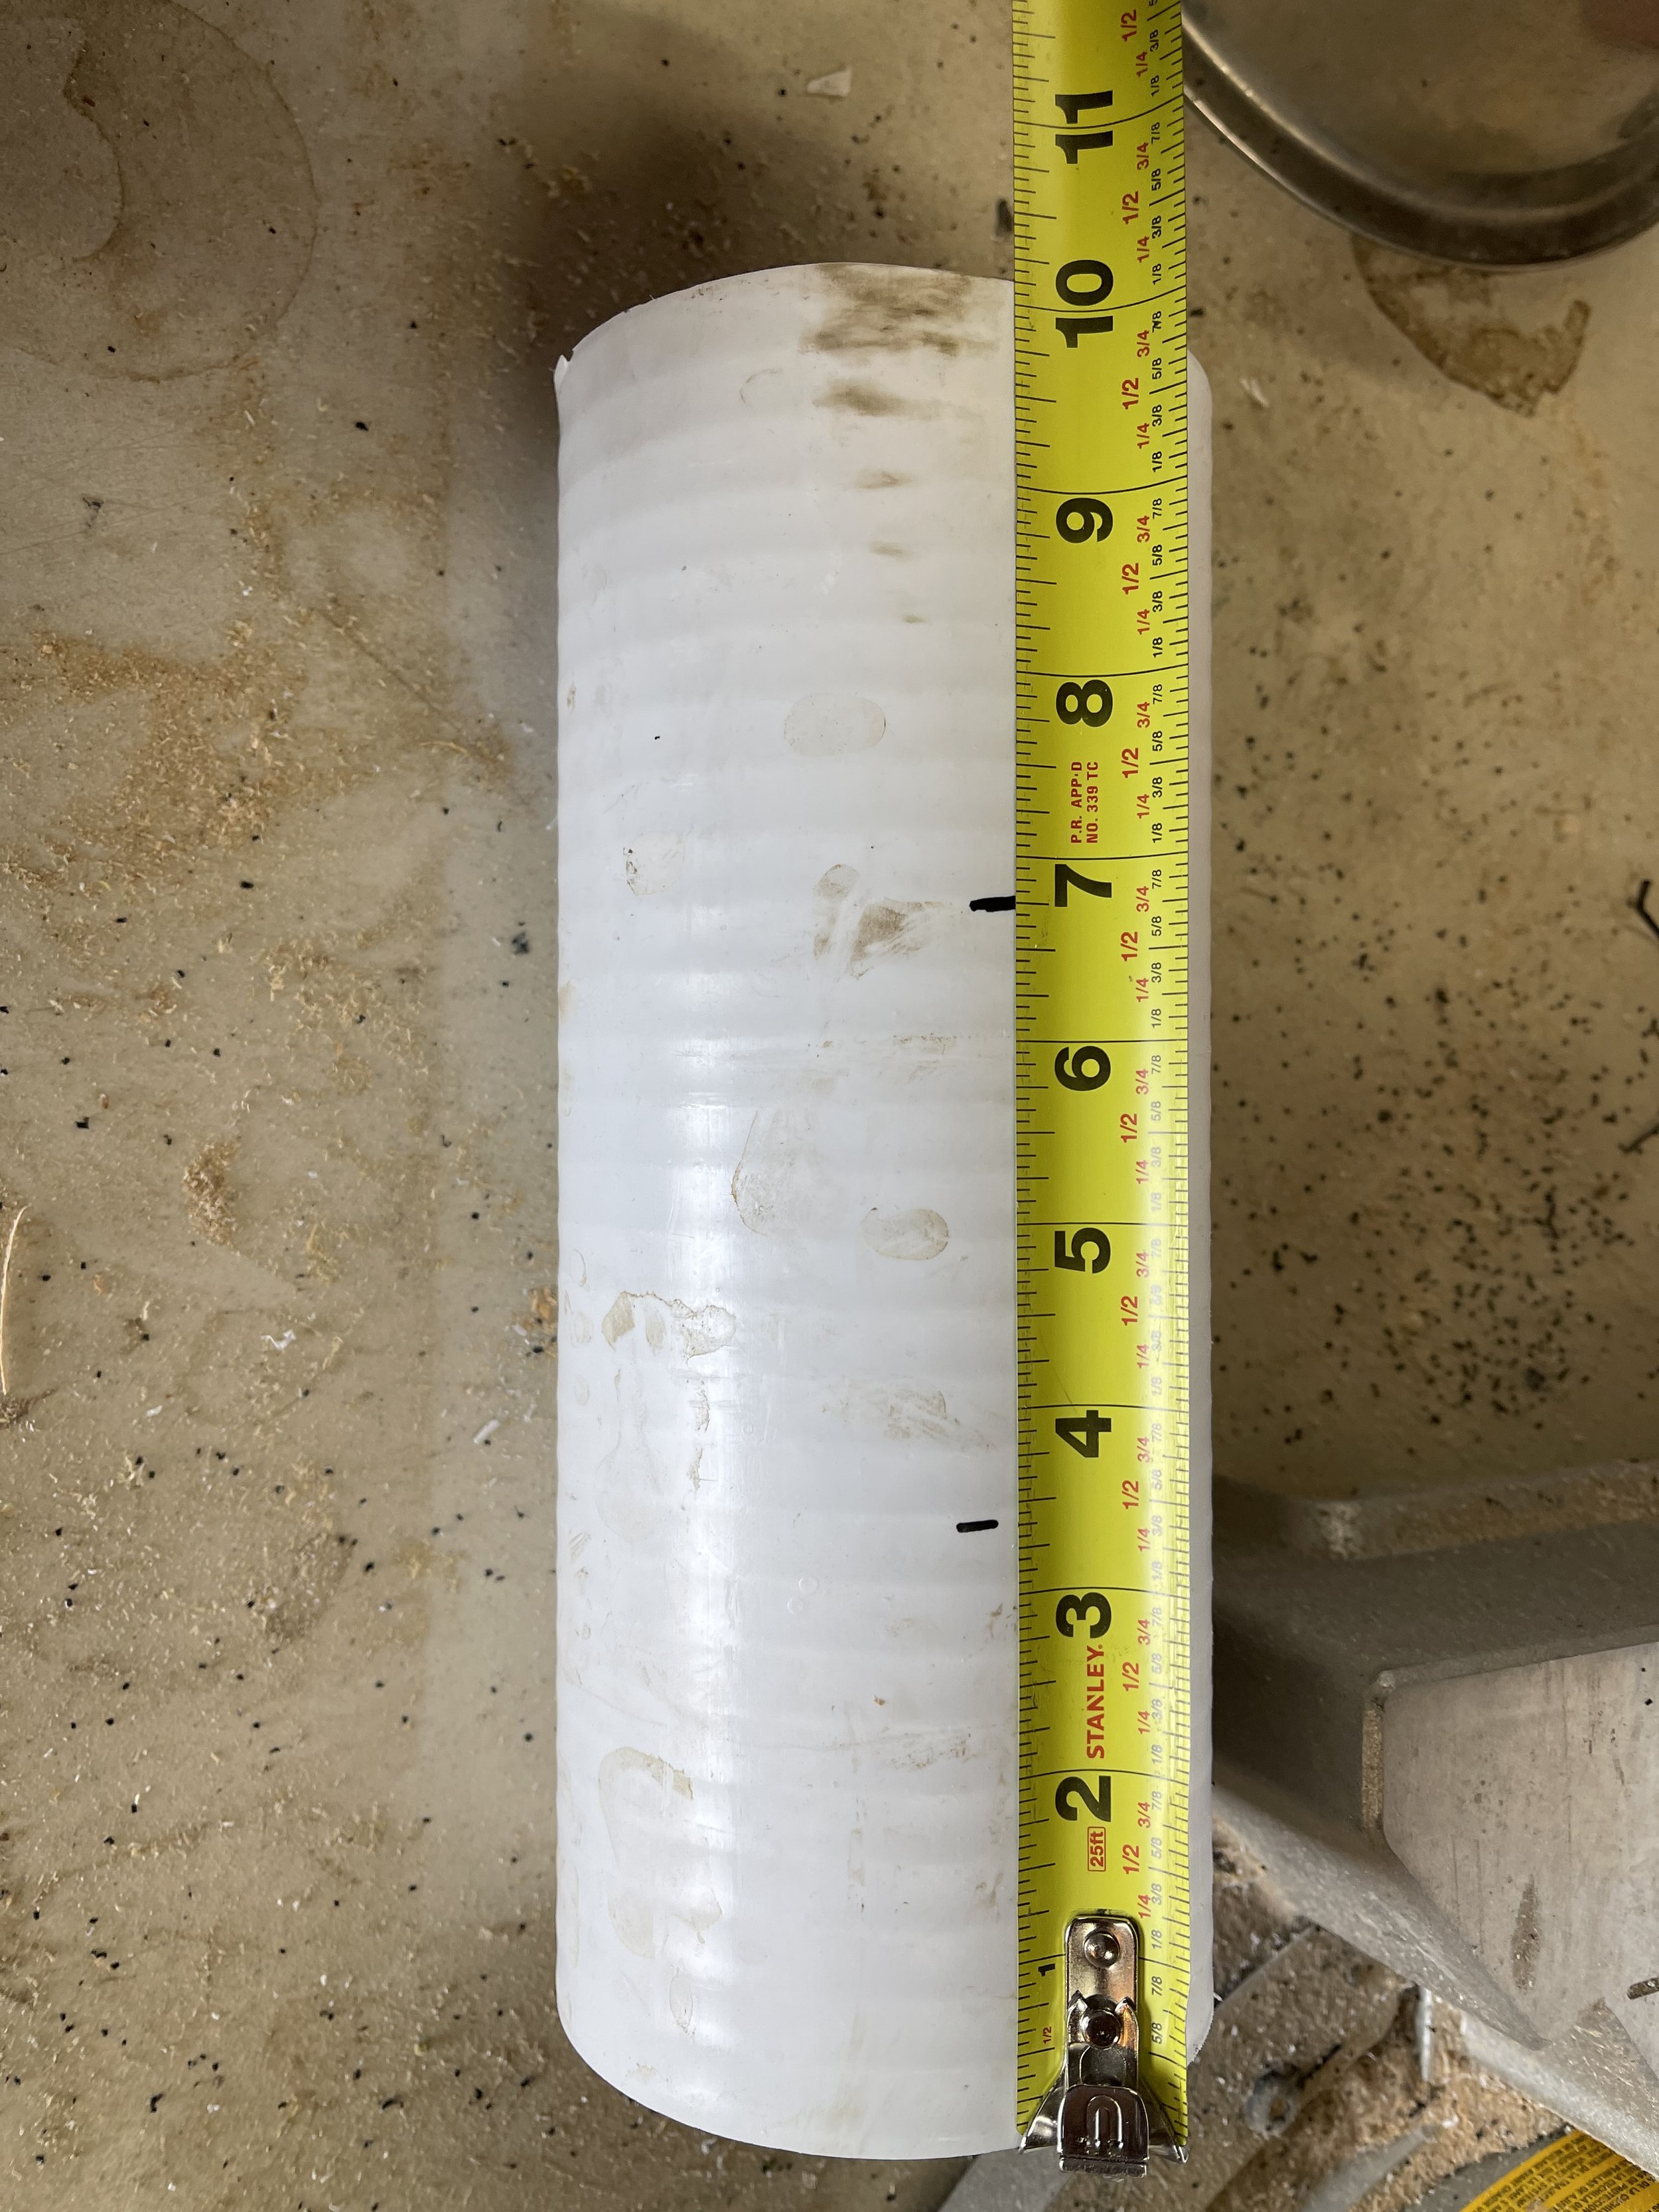
Step 3: Using the remainder 10 inches of pipe, mark 3 roughly equal sections of 3.3 inches and cut.
Alright, now we’ve got our cuts and our parts. We have: 3 sections of pipe that are 36 inches long, 3 short collars of pipe that are about 3.3 inches long, 3 Y fittings, 6 caps, and in this example we used standard PVC Primer and Cement.

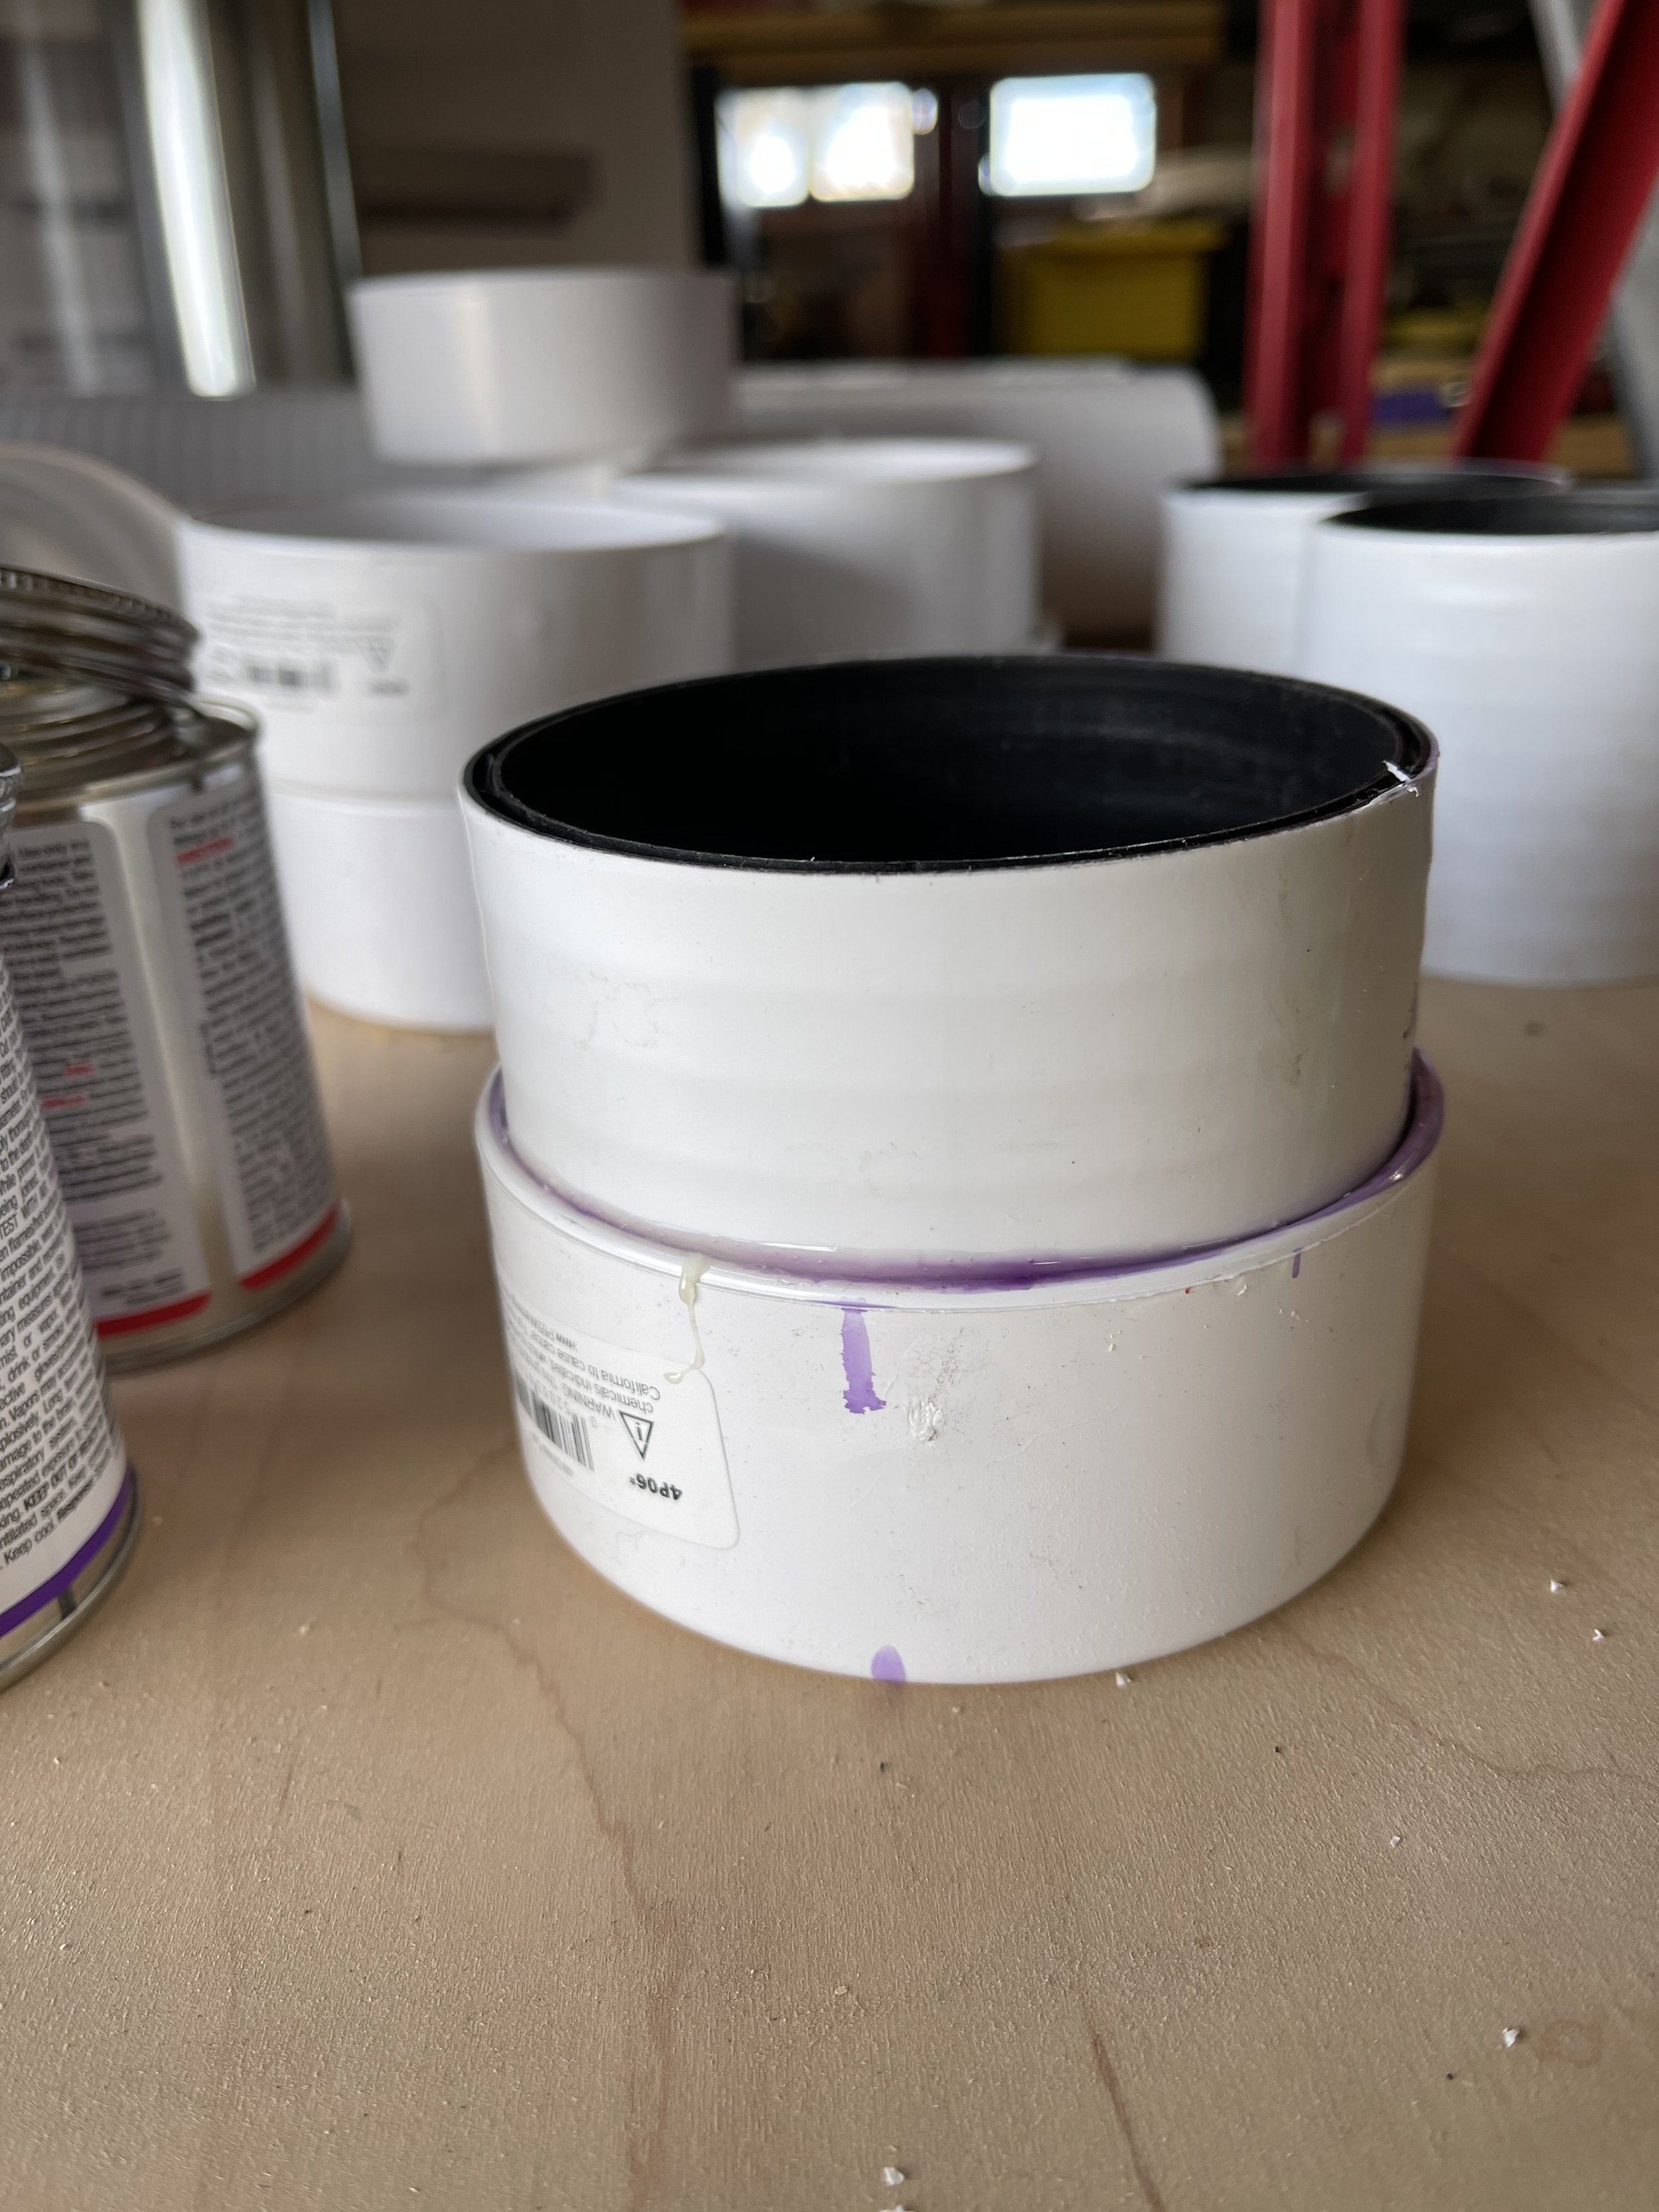
A solvent-weld (primer and glue) combo does work for this project. However, note the ridges on the pipe. The ridges affect how much surface area comes into contact between the pipe and the fittings. It’s not a super snug fit. So, I recommend either using LOTS of primer and cement for good adhesion or using a thicker adhesive. I happened to have the PVC Primer and Cement pictured here on hand, so that was what I started with.
Step 4: Using adhesive or screws, attach one of the caps to each of the 3 short sections of pipe.
On future mineral feeders, I used Gorilla brand Heavy Duty Construction Adhesive which comes in a caulking tube and requires a caulking gun. A similar option would be Loctite adhesive, also in a caulking tube. Just be sure to read the tubes for materials that the adhesive is suitable for. A thicker adhesive is a bit easier to use to form good contact when connecting the ribbed pipe pieces to the fittings and caps.
Our next step is to attach each 3.3 inch section of pipe to a cap. At this point you may opt to use a threading clean out cap for ease of cleaning anything blocked up out of your mineral feeder. My reasoning for using standard caps was simply budget and availability of parts.

Step 5: Using adhesive or screws, attach the short section of pipe with the cap from Step 4 to the bottom of a Y fitting.
Short self drilling screws could be used in place of adhesive. Every joint in the design of these feeders where you would use screws would locate the tips of the screws out of the range of sneaky goat faces, as such screws would be secure while still safe for this project. One benefit of using screws would be the ability to disassemble the feeders if needed, such as for cleaning if (like me) you opted to use standard caps and not clean-out caps for the bottoms of these feeders.
In this next step, you’ll want to pay attention to which side of the Y fitting that you’re working with. The straight side of the Y is the one you’ll be attaching your pipe to, and the angled side is your opening of your mineral feeder. Attach the short section of pipe with the cap from Step 4 to the bottom of the Y fitting.

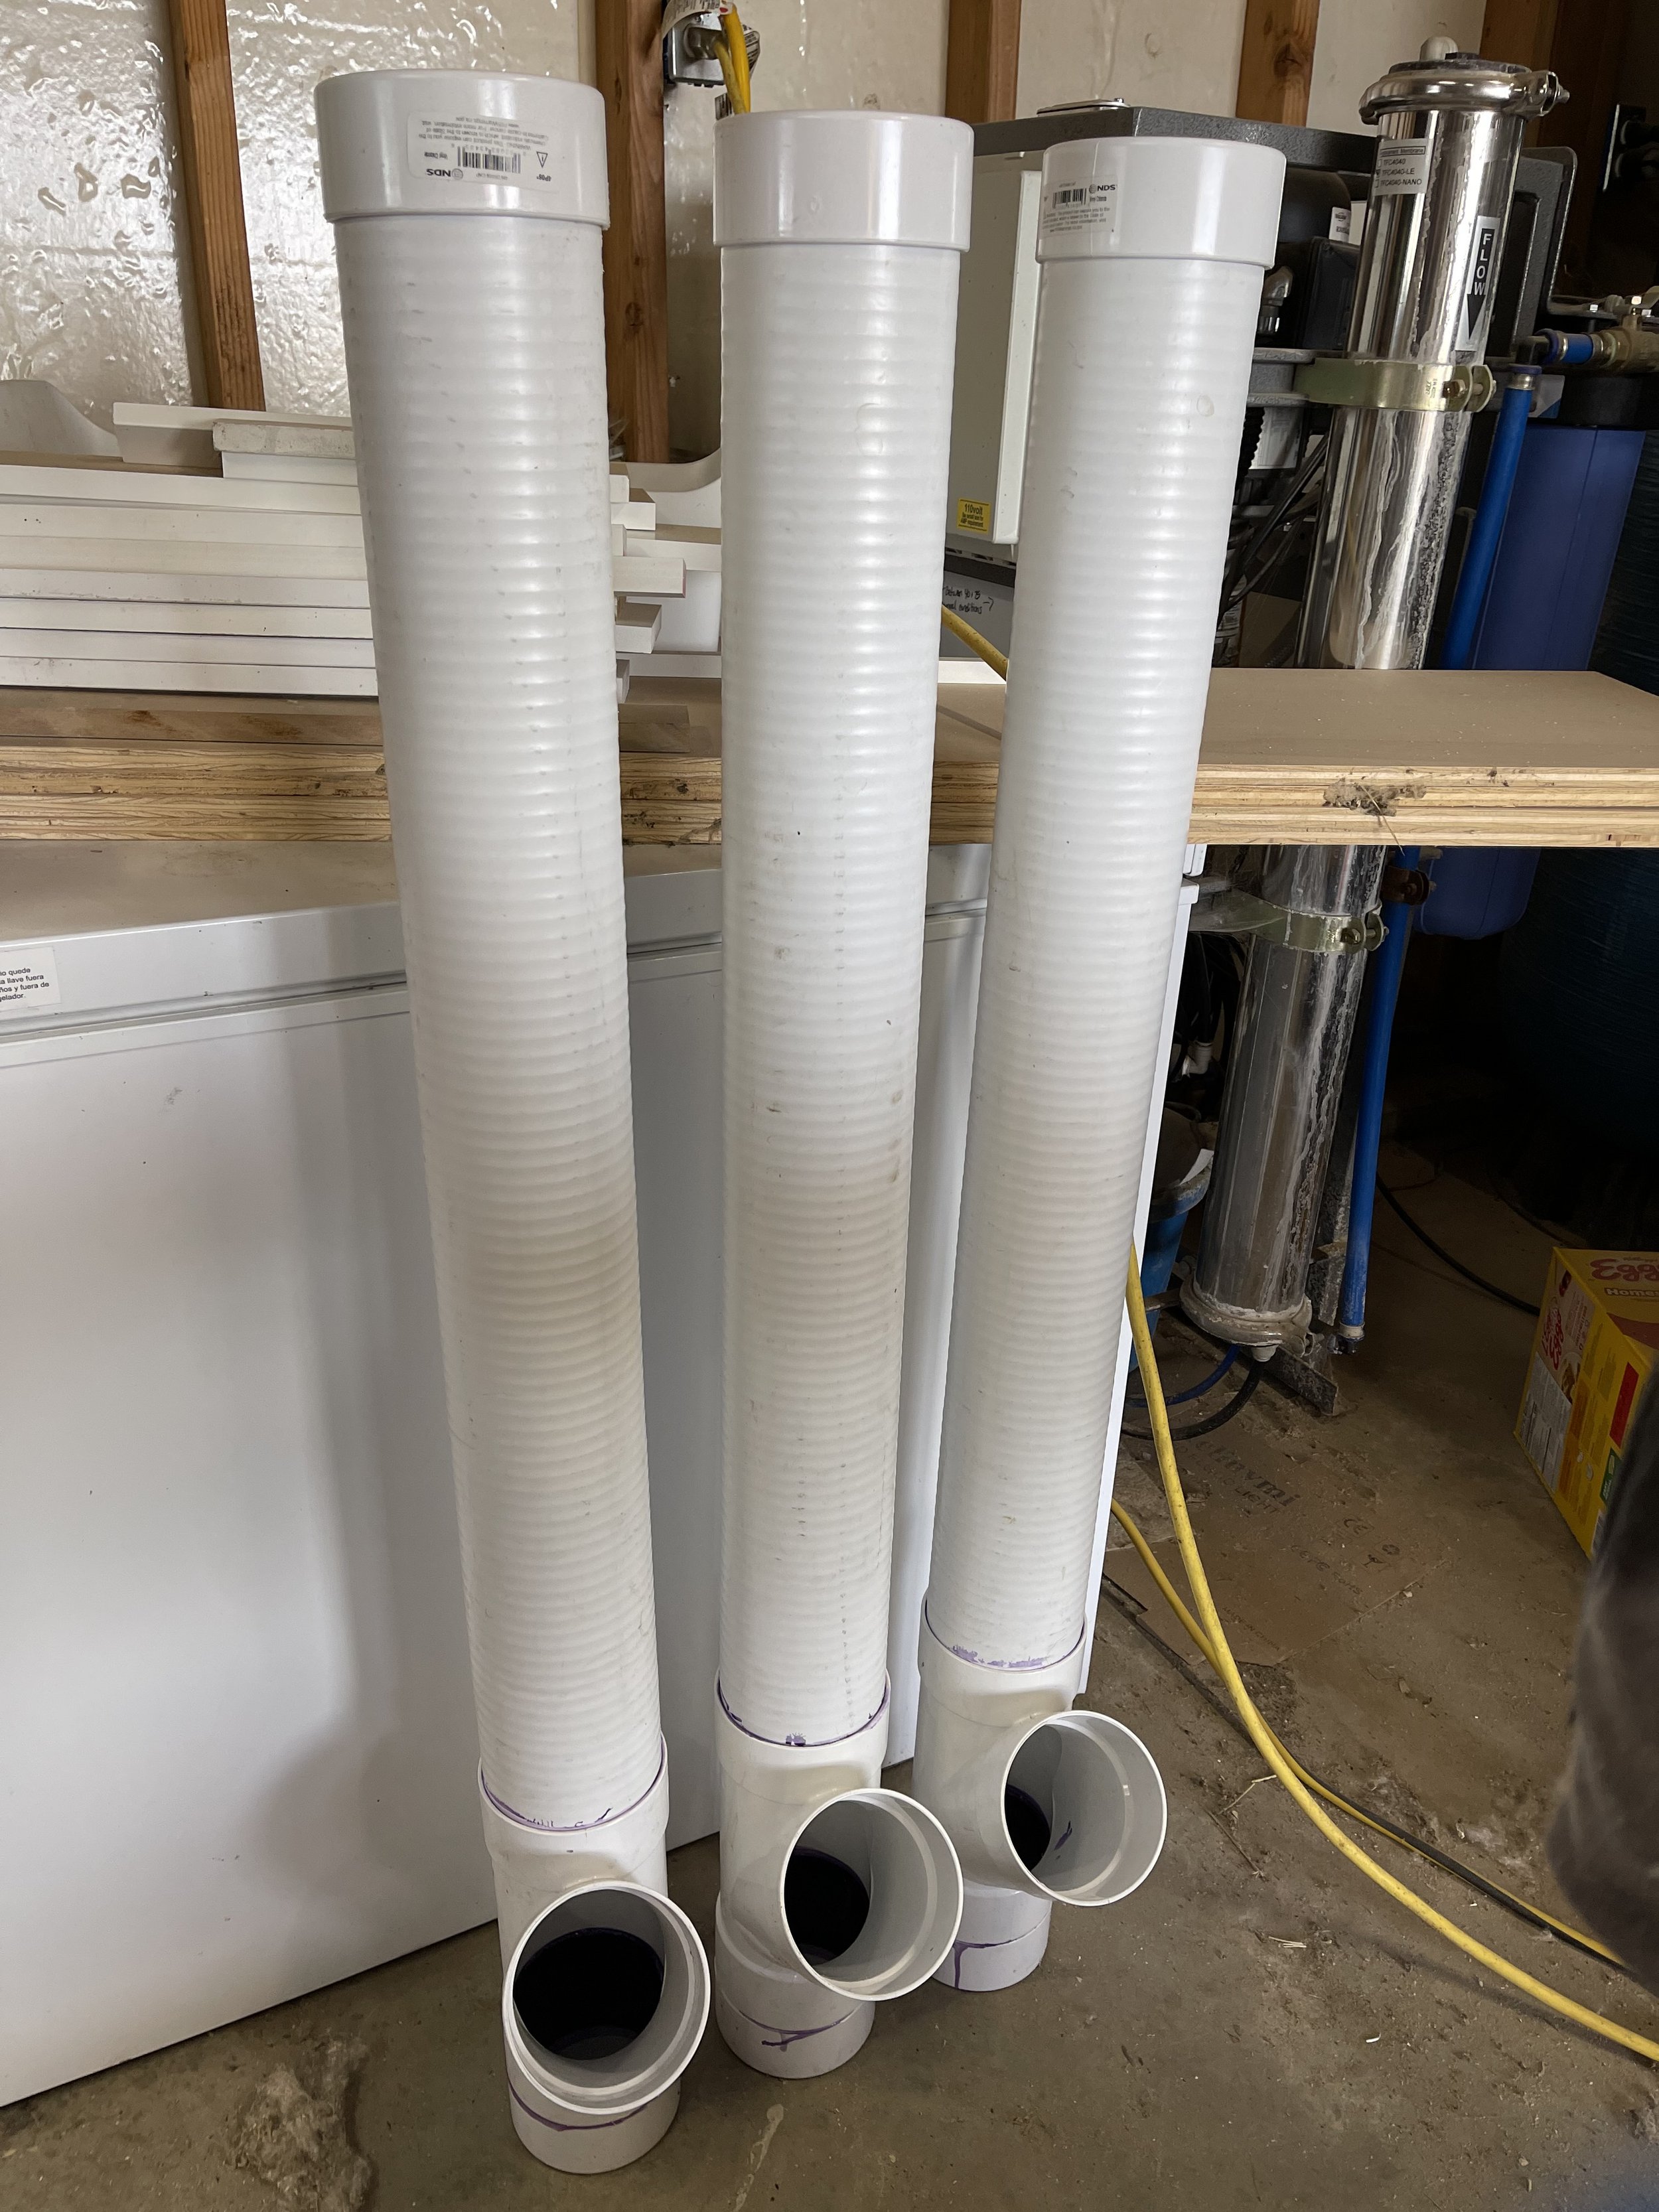
Step 6: Attach the 35 inch section of pipe to the top of the Y fitting.
Next, you’ll attaching one of your 36 inch pieces of pipe to the top of your Y fitting. If you’re wanting to make smaller capacity mineral feeders, you would simply use smaller sections of pipe. Rather than 36 inches, we also made some using 18 inch sections of pipe.
Let your adhesive dry overnight before mounting these feeders within range of mischief managers AKA goats.
Step 7: Add a cap, and allow your adhesive to dry overnight before installing your mineral feeders.
The final caps go on the top of your feeders. We considered a couple of ways to add handles to the top caps including an eye hook with lock nut on the underside of the cap or even a small utility handle screwed into the top of the cap. However, in addition to Nigerians we also have LaManchas. LaManchas are creative. LaManchas use handles. So our mineral feeder caps have no handles. The harder to open, the better, frankly!
We made 30 feeders in all. We made the large feeders depicted in these instructions for some of the supplements we provide, and we also made smaller feeders for things like baking soda and brewer’s yeast, which aren’t typically offered in 20-25# quantities even for a herd the size of ours. We also used the smaller feeders in pens, shelters, or stalls where there aren’t many animals such as in our kidding stalls and our junior grow out pens.

Step 8: If using support bars, they’re sold straight. Bend to the shape you need for mounting.
Now you’ve got to hang these things up! I used 14g support hyco bars because they are reasonably easy to bend to the shape I needed but more robust than standard plumbers tape. I used two per feeder. I hung them higher than most folks would, and placed a cinder block as a step in front of each feeder. Our shorter goats cannot reach the opening without the cinder block step, and this seems to work well for keeping feet and poop out of the minerals.
For animals who won’t touch anything they’ve pooped in, goats sure are skilled at pooping in literally every source of feed, water, and supplements!
The following info isn’t necessarily about assembly, but is more about feedback and our experience with these feeders.

As we have used these, I have gotten some tips and I have learned some myself along the way. I’ll first share the biggest “hurtle” I have personally experienced. I have 3 large doe stalls that are 12x24 feet. Each of these is connected to a pen that is a couple of acres in size. There are 20-40 does per stall/pen. And I mounted a few feeders in each stall for different supplements. My adult bucks and my retirement pen have the same set up, as well.
One of these feeders in each large stall is devoted to a mixture of 50/50 Thorvin Kelp and Zinpro 40. In the first week of using these mineral feeders, the goats started to dig through the contents of ONLY the feeders designated for Kelp/Zinpro. They are digging for the Kelp.

Evidence of dirty rotten kelp thieves!
I have been given the same advice several times - top dress their Zinpro on their feed every day. I have too many goats to top dress a daily dose of anything. There are nearly 150 goats on my property at the moment. I also don't provide an individually served supplemental feed to most of the animals all year round.
I have extremely high sulfur on my property which is an antagonist to many key nutrients - one of which being Zinc. I have to supplement Zinc at a very high rate. But Zinpro is not particularly palatable, especially in large quantities.
I have absolutely been told "My goats LOVE Zinpro" - hey, that's WONDERFUL. Most of mine don't. They tolerate it. And they don't tolerate enough of it for their needs.

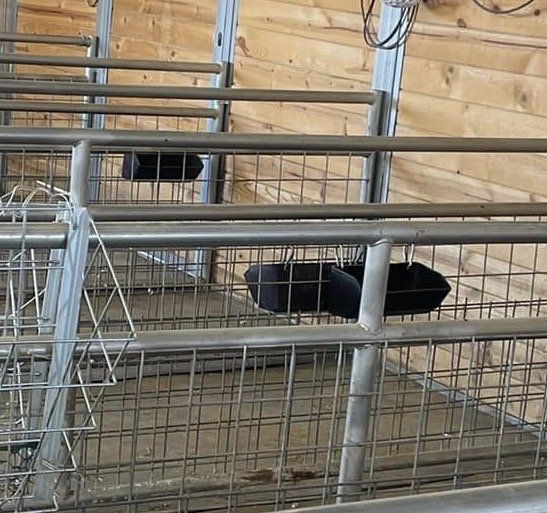
Adding a partial lip on the front of our mineral feeders has helped prevent digging.
My goats do, however, LOVE kelp. Mixing kelp 50/50 with Zinpro is currently my best option for keeping zinc readily available and having it consumed at the ratio that I need my goats to be consuming it to counteract the antagonists in their environment.
What I came up with is to cut caps in half and install them as a lip just on the mineral feeders I have designated for the Zinpro/kelp mix to discourage the digging for kelp and resulting waste. This is a more viable solution for me than not providing this mixture free choice and is especially more practical than trying to provide an individual serving per goat each day. I have not needed to add the lip to any of the other mineral feeders because the contents don’t seem to require any digging for the good bits by my goats - not yet anyway. Give it time. They’ll find a reason!
Some more tips and feedback I have received…
If you live somewhere with high humidity, these may collect moisture and the supplements inside them may bind up. I live in the driest state in the US, so I have not experienced this issue. Always mount inside or under cover.
If you mount these low enough for them to, goats will poop in them. Also, make sure they are FIRM and SECURE against the wall you mount them on because goats can sense weakness.
I get asked if these are hard to make - I’m handy and have most tools already. So maybe I am not the person to ask. But the advice I do think I can give is if you don’t have the right type of saw - ask your hardware store to make your cuts. I honestly think that would be the trickiest part if you aren’t already a tool-toting do-er. This would also make your pipe sections easier to transport if you don’t have a long truck bed.
I’ve gotten some accounts from several people who say they have made similar feeders and their goats just destroyed them. I understand that is a possibility. I have used every type of mineral feeder on the market. Every style bucket, every clip on or screw mounted bin, every size and material and design of pan including the no-tip pans and even cement mixing tubs, I have used rabbit and pig gravity feeders for minerals, too. And my goats have destroyed them all.
A few of my many failed attempts at clean minerals from over the years…Sigh. Goats.